

Having fiberglass bathtub you will have kind means that you need to take of it intensively. It will be the part of your bathroom that needs to repair instead of to replace. Fiberglass bathtub repair is not a thing that will need you to hire a professional to do that work. Instead you can do it yourself with moderate effort and quite affordable cost.
DIY will be the best way you can have for fiberglass bathtub repair. Though it might not be the one that will be quite easy to be done, this kind of repair will need you follow the instruction thoroughly and prepare the things you need to help you repair the bathtub easily. By following the correct steps and prepare correct things to help during the process, you can make a good repair yourself.
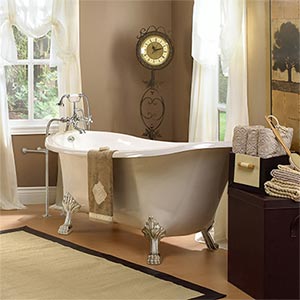
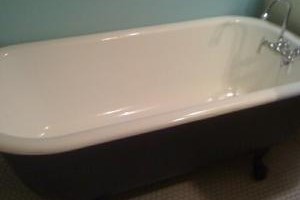
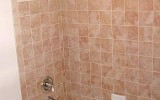
After Repaired Bathtub
Fiberglass Bathtub Repair – Things to Prepare and Step to Repair
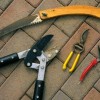
You might have the steps and you are ready to repair for fiberglass bathtub repair, but you need to prepare several things to help you repair fiberglass bathtub. Some items that you need to prepare will be fiberglass repair kit, marine plastic filler, gel coat, color tint, coarse sandpaper, wet-or-dry sandpaper, latex gloves and plastic wrap. Those are several things that will help you to repair a fiberglass bathtub. Some of them will need you to get it at the local store, but it will not be quite difficult to get those things as they are kind of common items needed for repairing work.
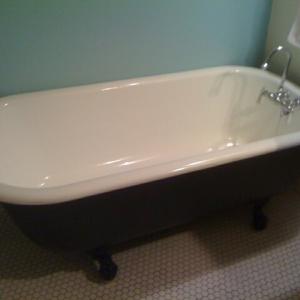
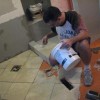
Fiberglass Bathtub Repair
After you are done with the preparation, now you can move to these steps and start to repair your fiberglass bathtub.
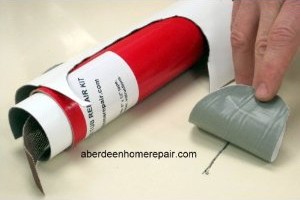
- Fiberglass bathtub repair will need you to purchase fiberglass repair kit that comes with resin, hardener and fiberglass cloth. Purchase all those things needed to repair a fiberglass bathtub.
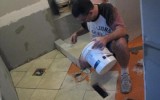
- With coarse sandpaper, you need to sand the area outward to about two inches from the perimeter. You need to sand the damaged area.
- Now you need to use your fiberglass repair kit. Take the fiberglass cloth and cut it progressively into three patches with the largest part will not be larger than the sanded area. Next, you need to prepare the mix of fiberglass resin and hardener. Follow the instruction. First, apply the smallest layer of fiberglass cloth with the other two layers with larger size follow and wait for overnight.
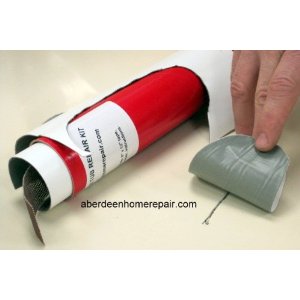
Bathtub Repair Kit
- You need to sand the area that you have applied with the patches. Use formula 27 on the top of the fiberglass and then sand it for the best result. You will find it blend into the surrounding and look smooth.
- At this stage you will need to apply the gel coat that mixed with the tint according to the bathtub color. You will also need hardener to be mixed in this get coat. Further, you can brush for about 1/8” thick. Cover it using wrap plastic and wait for it to cure properly.
- For the finishing step, you will only need to sand the area that has been cured.